Sourdough baking is all the rage lately. Do all those reels on sourdough baking and pretty pictures of those perfect loaves of bread and ever so tasty looking cinnamon rolls have you itching to start your own sourdough journey?! Well, that’s what got me started at least, haha. My family is a sucker for a good cinnamon roll and any type of bread! I started my sourdough starter a little over two years ago and have never looked back. I struggled a little in the beginning getting my starter established and even threw out my first attempt. BUT the more I read about the benefits of baking with sourdough, I was determined to try again and well, my starter is alive and well and I have been baking with it ever since.
I am definitely no sourdough baking expert. I do love to look up different recipes, give them a try and maybe tweak some from time to time to fit my families needs. In the beginning, I think the thing that intimidated me the most with starting my starter was how I was going to have to weigh out my flour and water each time and be precise. I’m here to tell you that I am not a precise baker. One, I don’t weigh out my flour and water anymore. Two I payed attention to my starter and what the consistency looked like when it would thrive and be a bit weaker (not as bubbly and active). I hope that through my trial and error and a few tips, I am able to encourage you to give sourdough baking a try. It’s intimidating at first, but I promise, if I could get the hang of it, so can you!
What is a Sourdough Starter?
A sourdough starter is a combination of equal parts flour and water. This is why it is common to weigh your flour and water because flour and water in themselves do not weigh the same. The flour and water mixture is left out at room temperature to ferment. Over a period of time, to become mature and active, the mixture is discarded and fed.
A mature, active starter is used in place of commercial yeast in recipes. As the flour and water ferments in your starter, it cultivates wild yeast and good bacteria. When you feed the starter, you are feeding the wild yeast and bacteria, making them stronger, causing them to release gases. These gases that are released are what cause your bread dough to rise.
Sourdough has been around many many years. Commercial yeast has not always been a thing. Up until commercial yeast, families used to maintain their starters and even pass them down from generation to generation. So cool, right? Who knows, you may develop such a strong starter you are able to share some with your family members. I have shared my starter with several friends and my girls and I love to bake together with it.
The Health Benefits of Sourdough
Fermentation is a naturally occurring process where good bacteria break down sugars in food to produce lactic acid. Lactic acid gives sourdough its tangy or “sour” taste and the ability to stay fresh longer.
Sourdough is known to be easier to digest for many of those who have difficulty processing regular foods that contain gluten. Sourdough is also better for blood sugar control and those with a diabetic meal plan because the carbohydrates are broken down during the slow fermentation. Sourdough is good for gut health. It provides prebiotics for the gut. Prebiotics are basically food for our intestinal microflora, which helps them too flourish and thrive. Just as simple sugars feed lactic acid bacteria in your starter, sourdough bread products provide food for your gut bacteria to consume and thrive off of.
Sourdough bread is essentially made of flour, water, and salt in many recipes, give or take a few other ingredients. You know everything that is going in to your bread unlike the bread you purchase at the grocery stores.
How to Make a Starter

Day 1:
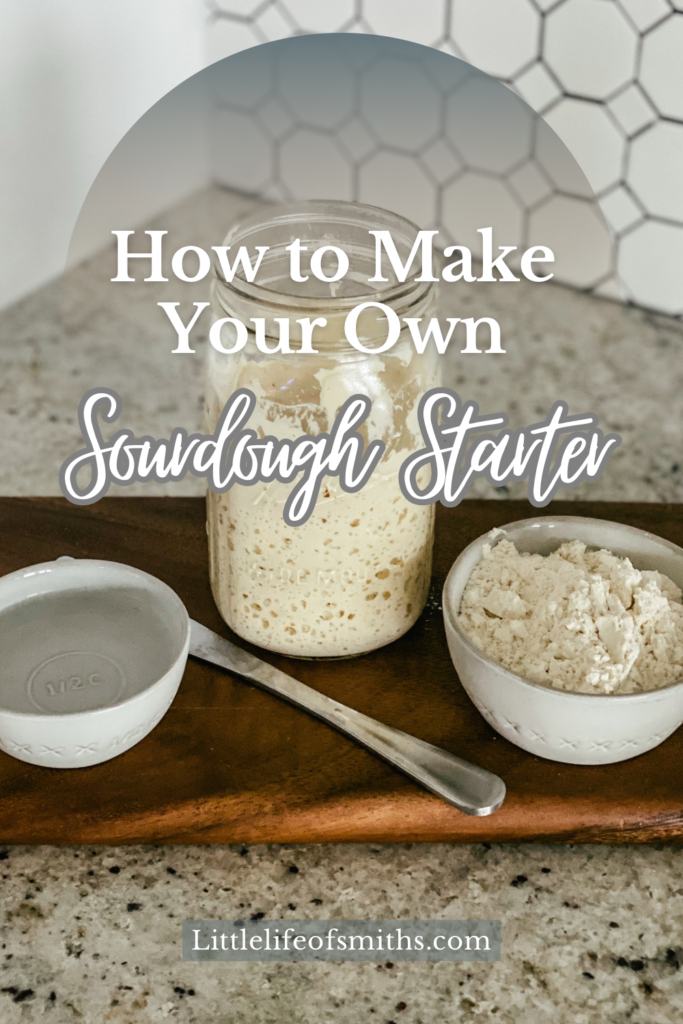
I prefer to use a quart size jar but there are an assortment of jars and bowls you will find people use to keep their starter in. I like to keep things simple and I always have canning jars around. In your jar, combine equal parts of water and flour. I like to use 1 cup of all purpose flour and 2/3 cup of filtered water. You can use many types of flour but I can only speak to making a starter with all purpose flour. It is also important to use filtered water. Combine this well. I stir with a butter knife so I can scrape the sides and bottom well. Loosely cover with a cloth and rubber band or loose with a lid. Basically making sure air can still get in but keep gnats and other dust particles out. Let that set in pantry or on counter for 24 hours.
Day 2:
The next day, or 24 hours later, discard approximately half of the day 1 mixture. I do not measure, I just eyeball this and dump half out. Once your starter is established, you can save the discard, but I do not start saving this until my starter is established. Feed the half that you saved another cup of flour and 2/3 cup filtered water. Mix well and cover and let set 24 hours.
Day 3-7
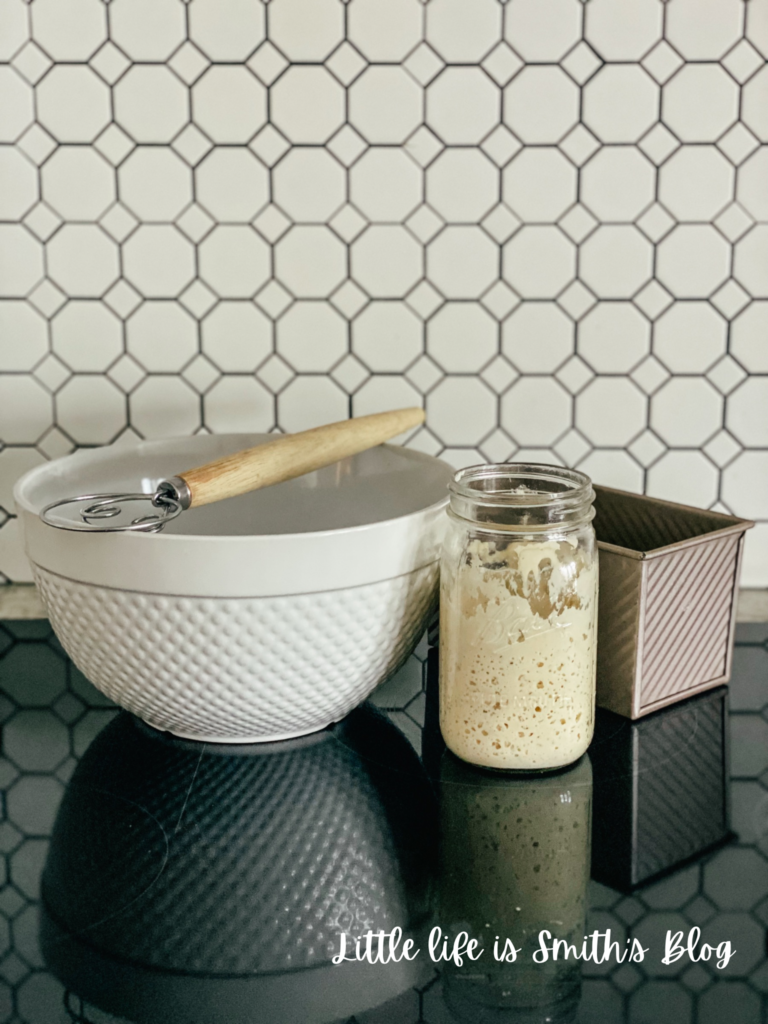
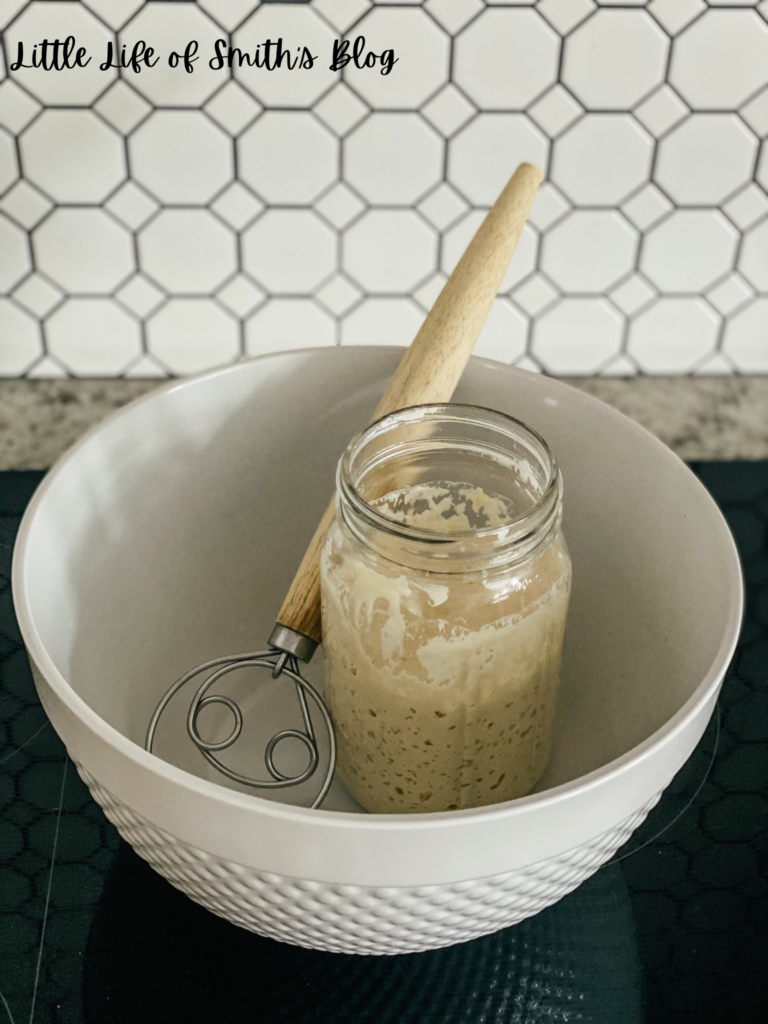
Continue the steps from day 1 and 2. You will start to notice your starter starting to become active with little bubbles around day 3-4. Typically around day 7, your starter should be starting to double in size. If it’s not doubling yet, that’s okay, give it a little more time and continue to feed it. Temperature plays a big role in this too. Once your starter is actively doubling in size within 12-24 hours each feed and passes a float test, it is ready to bake with. To test your starter using the float test, simply fill a small bowl with some water and drop a spoonful or two of your starter in the water. If your starter floats, it is ready to bake with. If if sinks, keep working to make it stronger.
Tips to Keep in Mind
Sourdough starter thrives in warmer temperatures. It takes my starter longer in the winter to double in size and become active because its always cooler. This will mean your bread dough will typically take a littler longer to rise as well.
Don’t give up on your starter. My starter that I am using today took almost 14 days to establish. I really had to learn the consistency of when my starter was thriving and be patient. This can be slightly different for everyone. Just play with your starter, flour, water ratios slighting. This is typically a 1:1:1 ratio. When you feed your starter, it should be like a thicker pancake batter consistency. I sometimes find my starter thrives when it is a little thicker and less watery.
Mix your bread dough and utilize your starter at its peak. Your starter will double in size and the longer it sits, it will start to fall again. You will want to mix your dough and use this active starter before it starts to fall to get the best rise from your bread. However, if your starter slowly falls before you started your dough prep, no worries, you can still use it, it will just take slightly longer to rise. It just needs to have quite a bit of activity left in it still when baking with it.
Timing is key with sourdough baking. You will need to feed your starter 4-8 hours before wanting to use it. Then your bread dough usually takes 12-24 hours with a bulk ferment and 3-4 hours for a final ferment. SO timing when you want your finished product is key to when you will feed your starter and utilize it.
Maintaining Your Starter
Once your starter is mature and established, you do not have to feed and discard it everyday. Just when you want to bake and every 3-5 days. I bake bread with my starter weekly and usually feed 1-2 more times outside of this to make other goodies to keep my starter thriving and not just sitting. If you don’t plan on using your starter for awhile or you are planning on being gone on vacation, simply place a lid on your jar and place your starter in your refrigerator. It can stay in there for some time. It may develop a dark brown colored liquid on top called hooch. This is normal and you just dump that off and feed like normal. It may take a couple of feed and discard to get it thriving strong if it has sat for a while untouched. You can usually revive a starter. The only time I would throw my starter away is if there was mold growing on it.
There are tons of recipes for discard too, so don’t waste that. Use it to bake all the goods. I will be sharing more recipes in future posts 😁.

Links & Supplies
This post contains affiliate links. I receive a small commission at no extra cost to you if you shop through my links. Thank you!
- Quart Jars (one for starter and one for discard):https://a.co/d/8VuMlkm
- Mixing Bowls: https://a.co/d/bMQcPfp
- Bread pans: https://a.co/d/axzwrch
- Danish Dough Whisk: https://a.co/d/4vHl5j2
- Dough Scraper: https://a.co/d/92s2YXO
Have fun!! Leave me a comment and let me know if you plan you try or you already have a thriving starter or have questions! If you try this recipe and like it, give me a follow on my social accounts for more recipes ☺️